

The Sixer Fixer-upper: Part 3
Entry posted by Nathan Strum
520 views
And now... the conclusion of my 2600 repair blog thing!
Or rather, the conclusion of this particular 2600's repair. Oooo... foreshadowing!
If you're looking for Part 1 or Part 2, well, there are links to them around here somewhere. ![]()
With the holes repaired, it was finally time to put everything back together. As with James' console, I wrapped the wires around the front of the board, and underneath it. Flat-taping them together, and using a little unshrunk heat-shrink tubing to keep things neat.
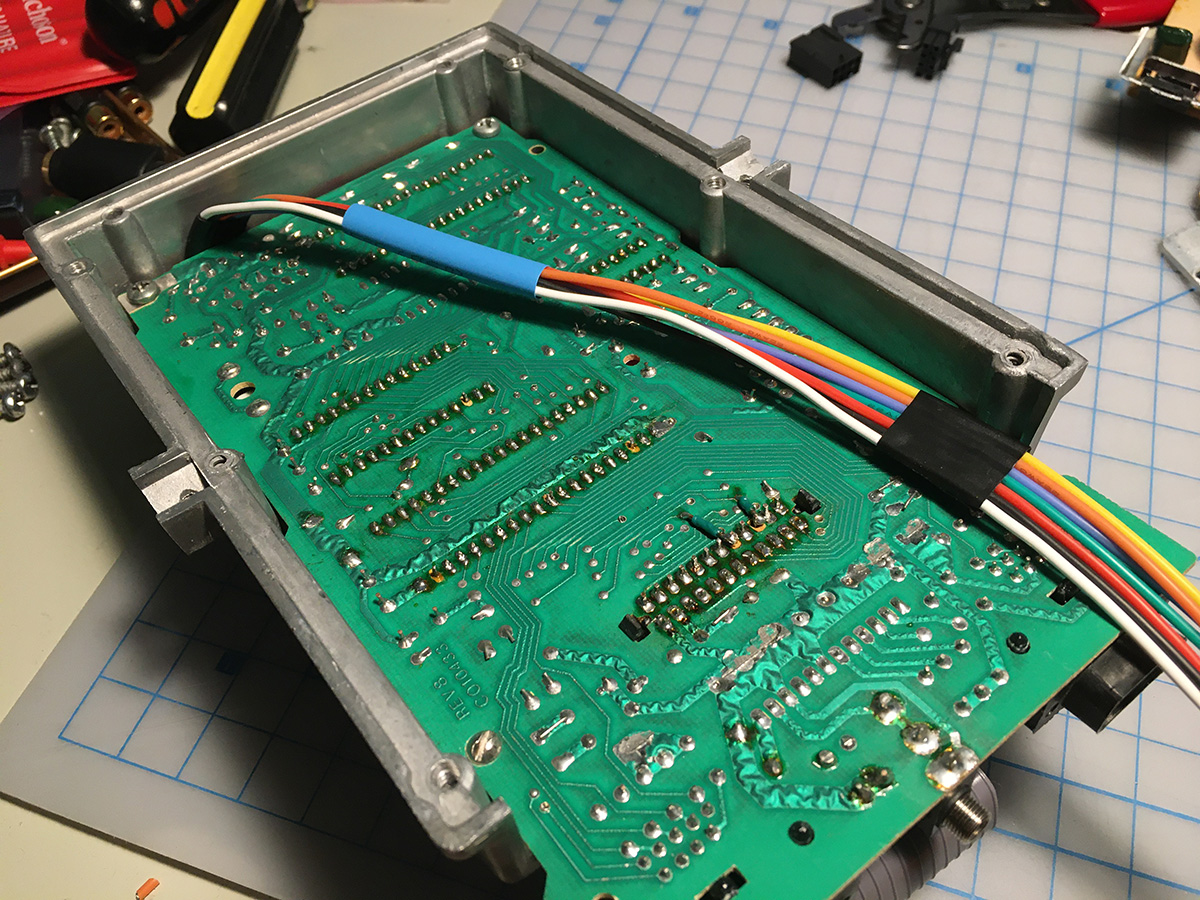
I then attached the base, loosely putting all of the screws in, before tightening anything down. I did this so that I could be sure the screws in the repaired holes were going to all line up perfectly, without having to drive a screw in from an angle.
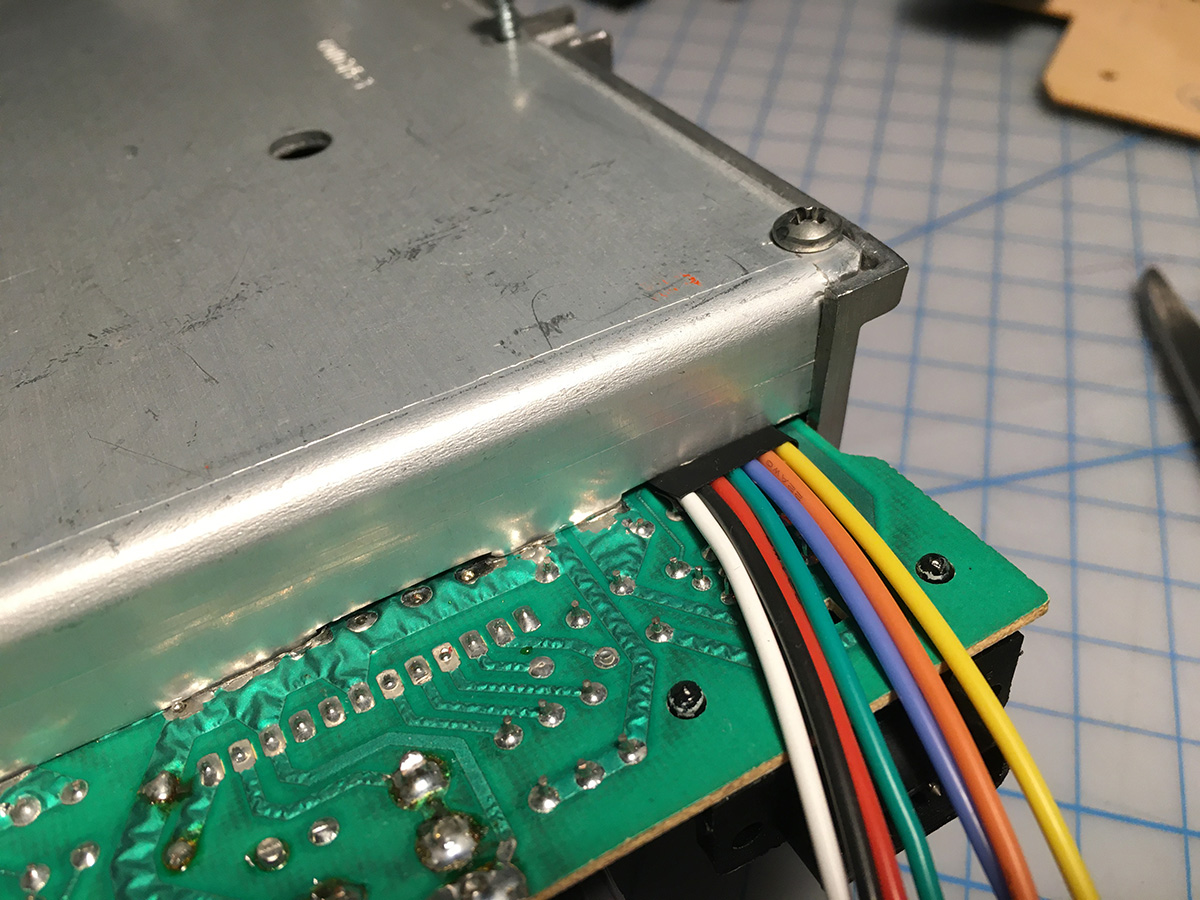
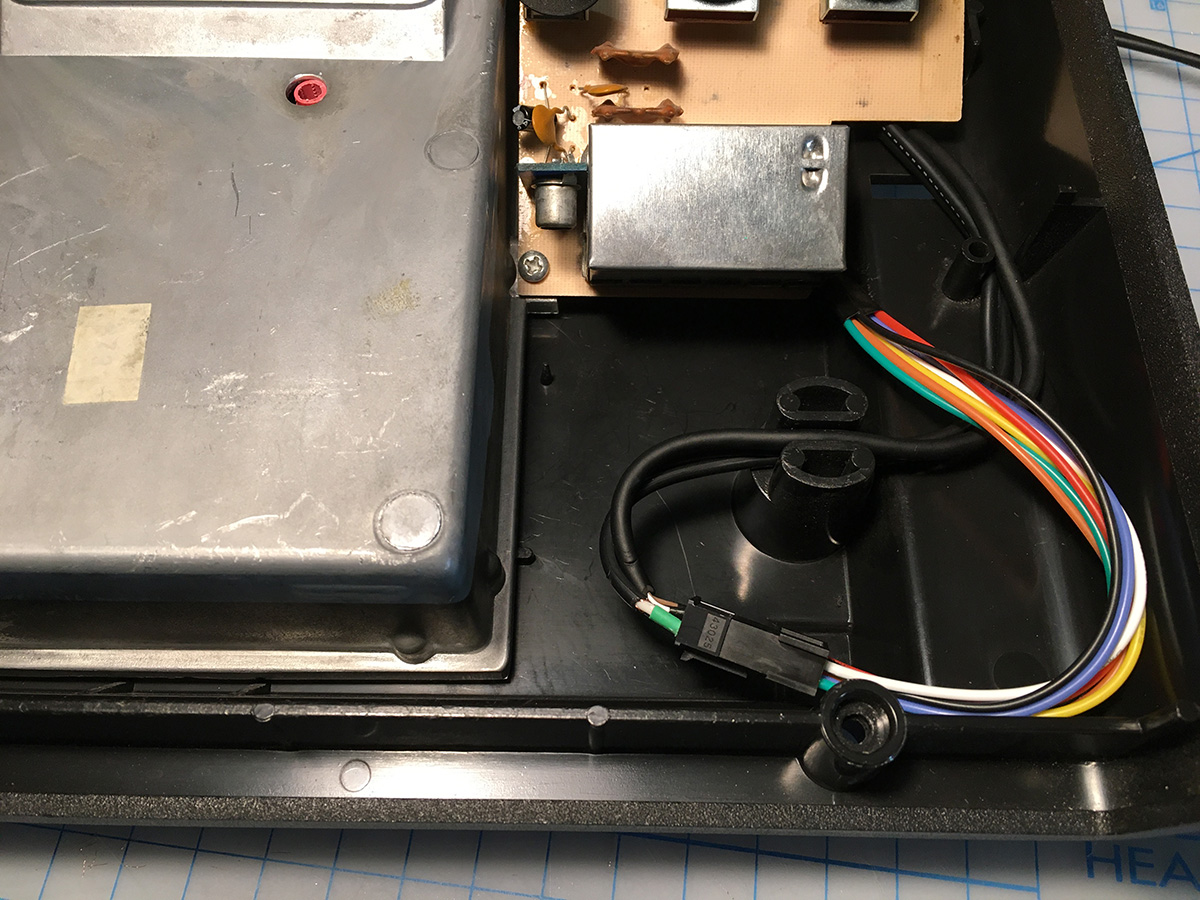
The wires neatly fit through a pre-existing gap in the shield cover:
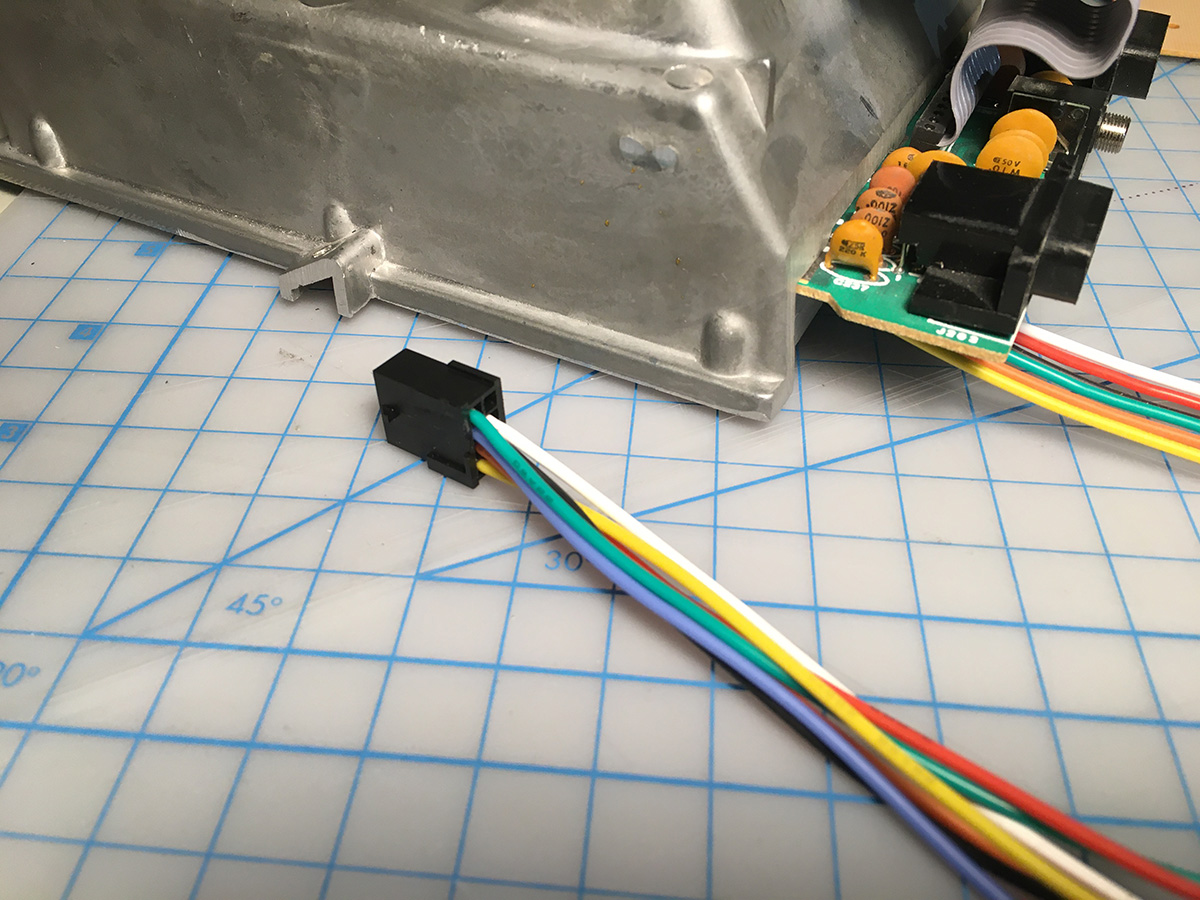
Next, I crimped pins onto the wires coming from the mod:
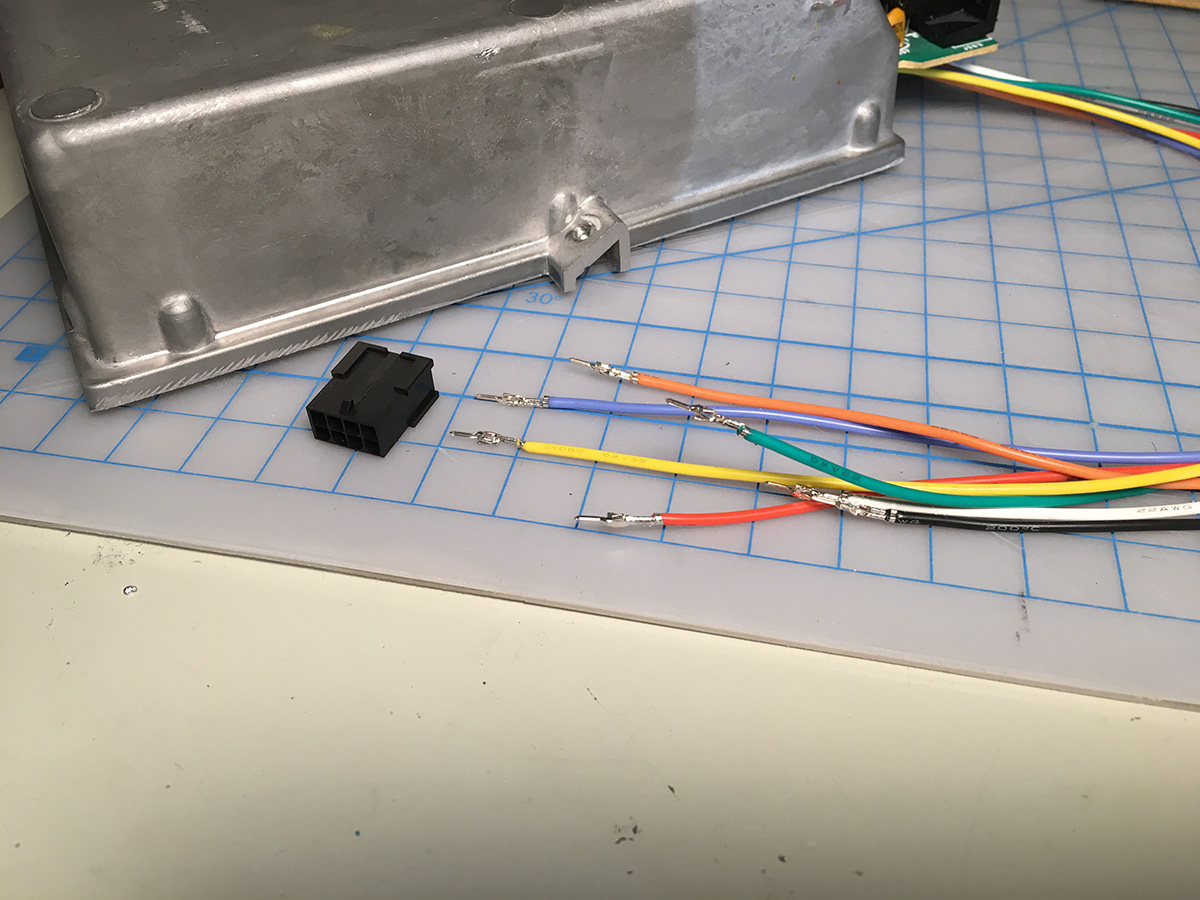
And inserted all of the pins into one half of a Molex connector:
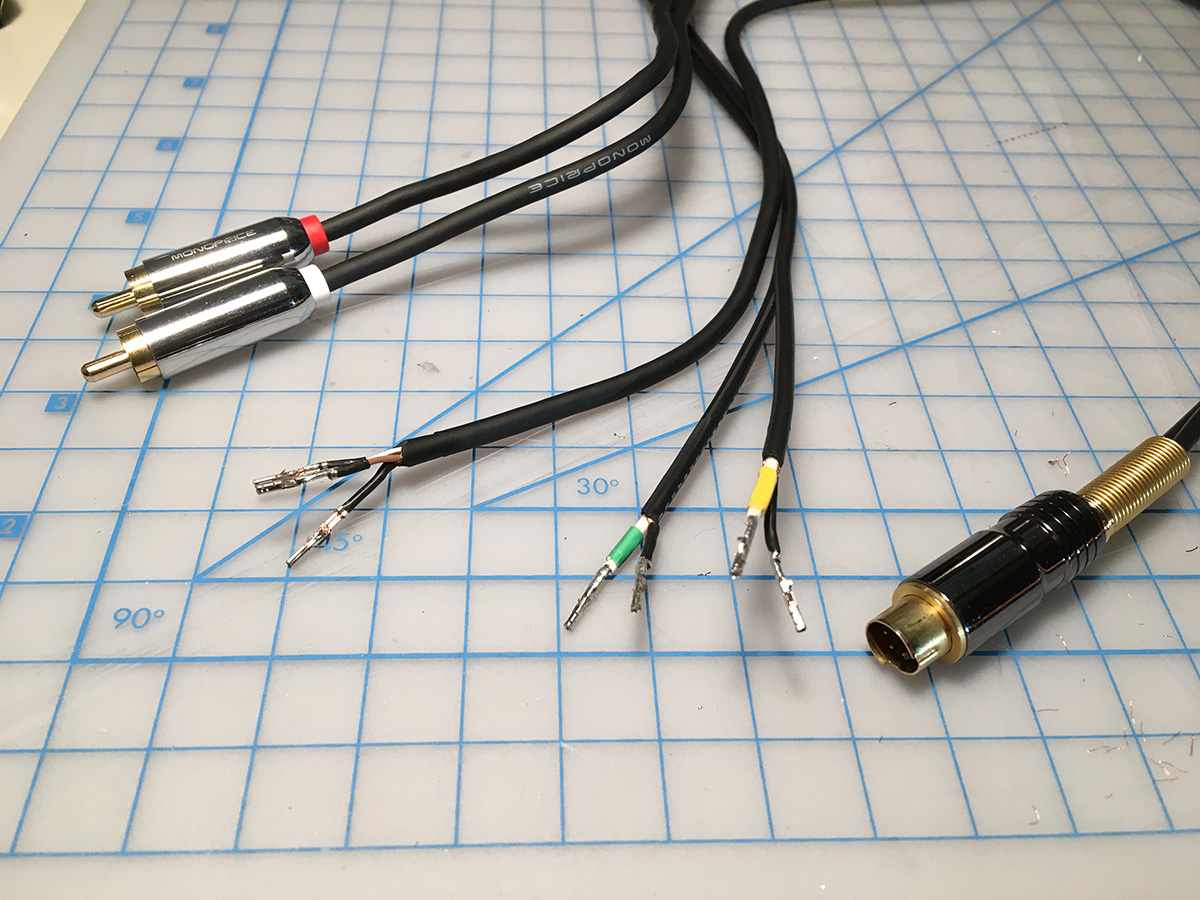
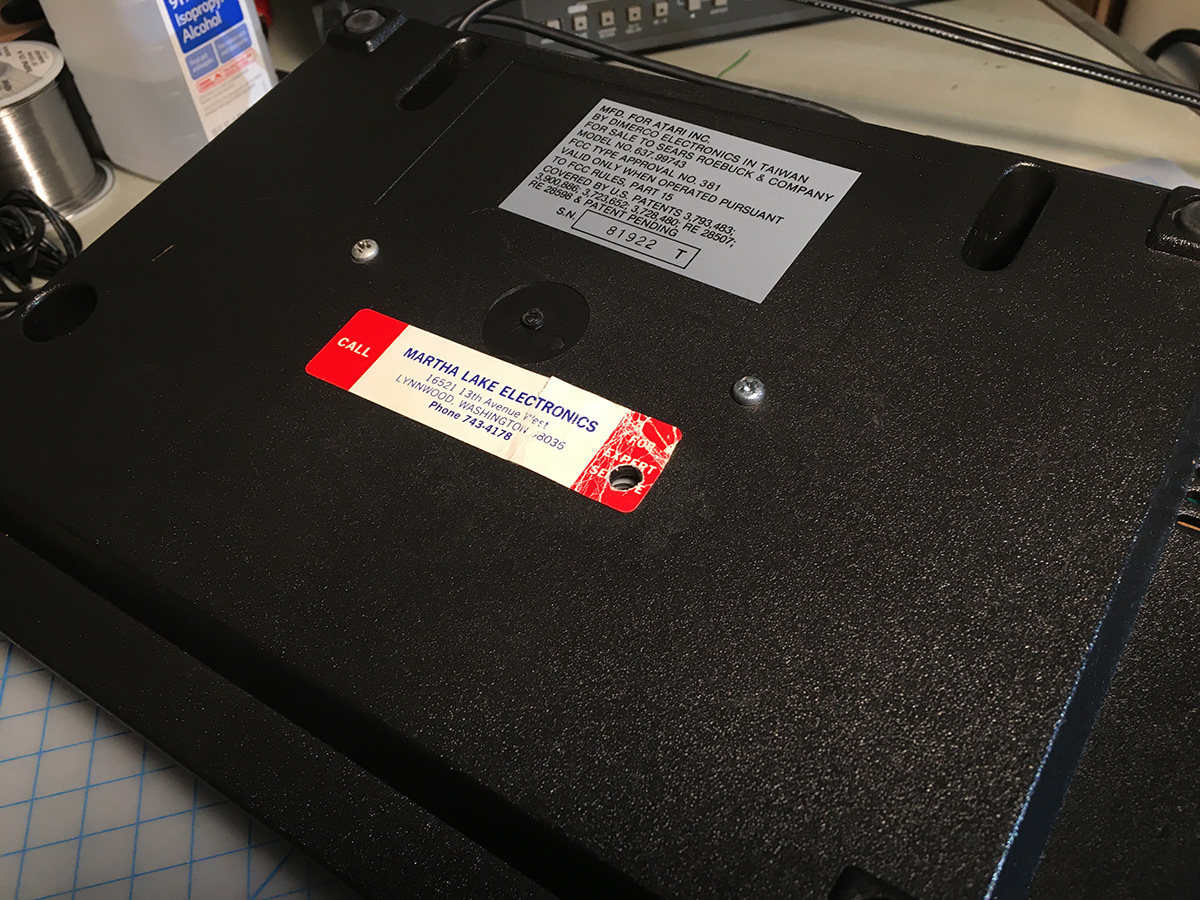
Then I crimped sockets onto the audio and S-Video cable (I added some heat shrink tubing to help with color coding):
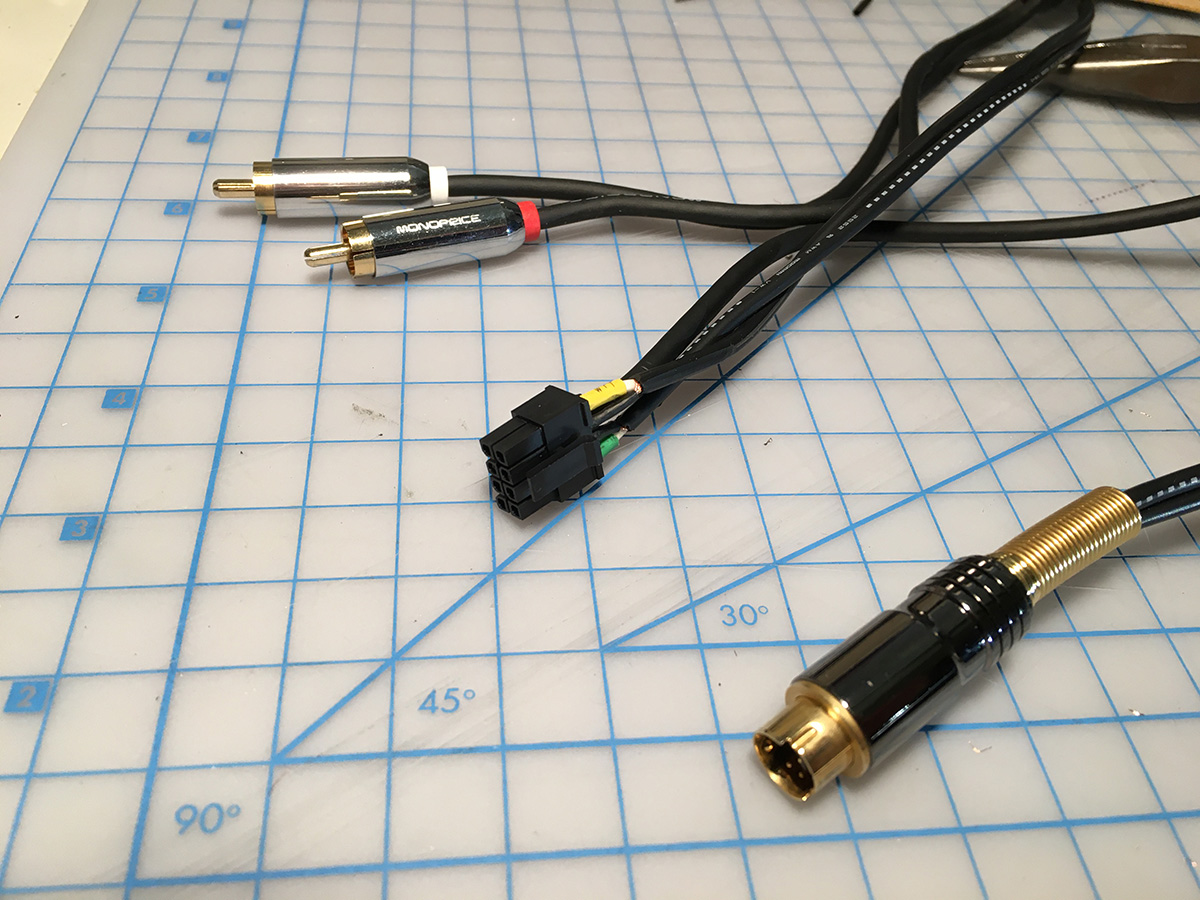
And pressed those into the other half of the Molex connector. In hindsight, I should've stripped the wires further back, because I barely had enough space to maneuver the pins into the connector. Next time.
When I installed the old S-Video cable, I had to slightly enlarged the factory hole that the RF cable had been fed through:
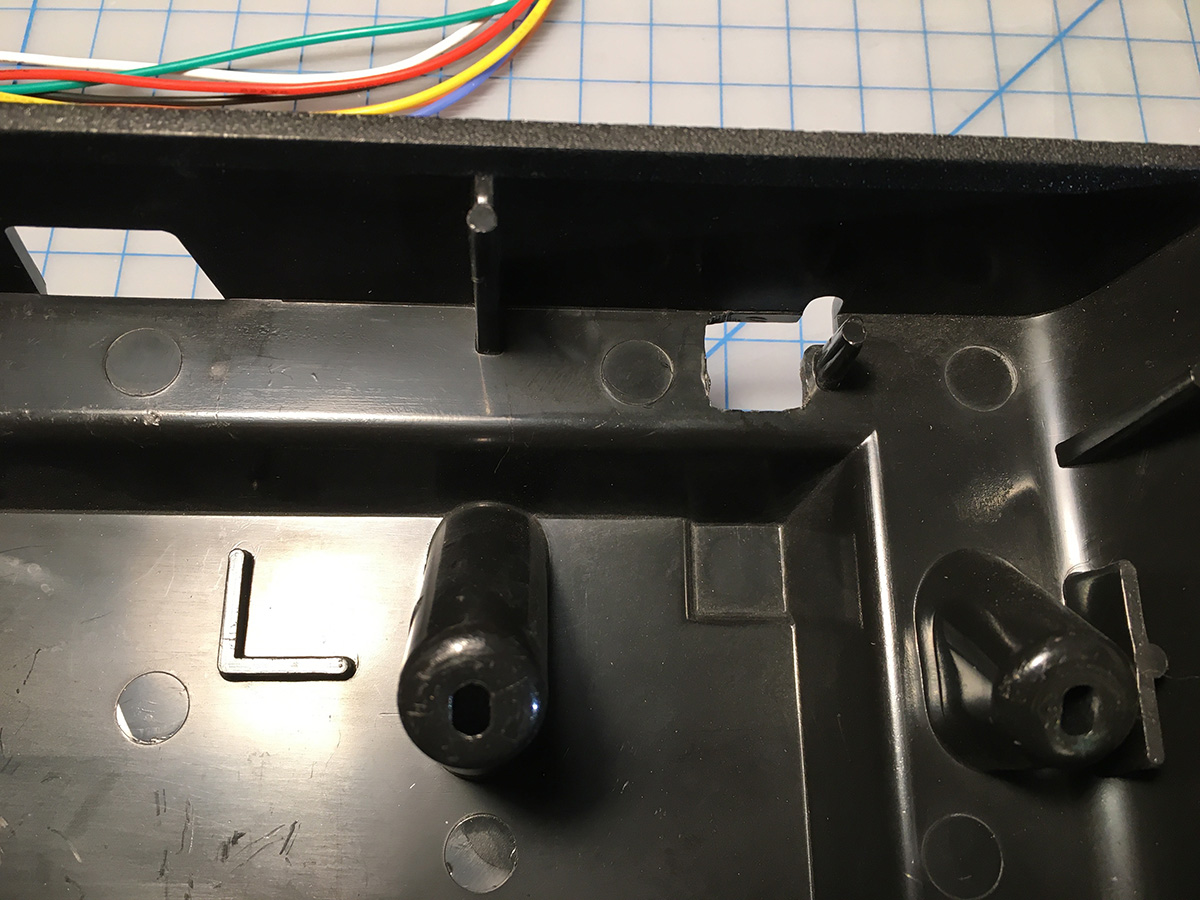
By complete accident, the Molex connector fit through it without needing any further modifications.
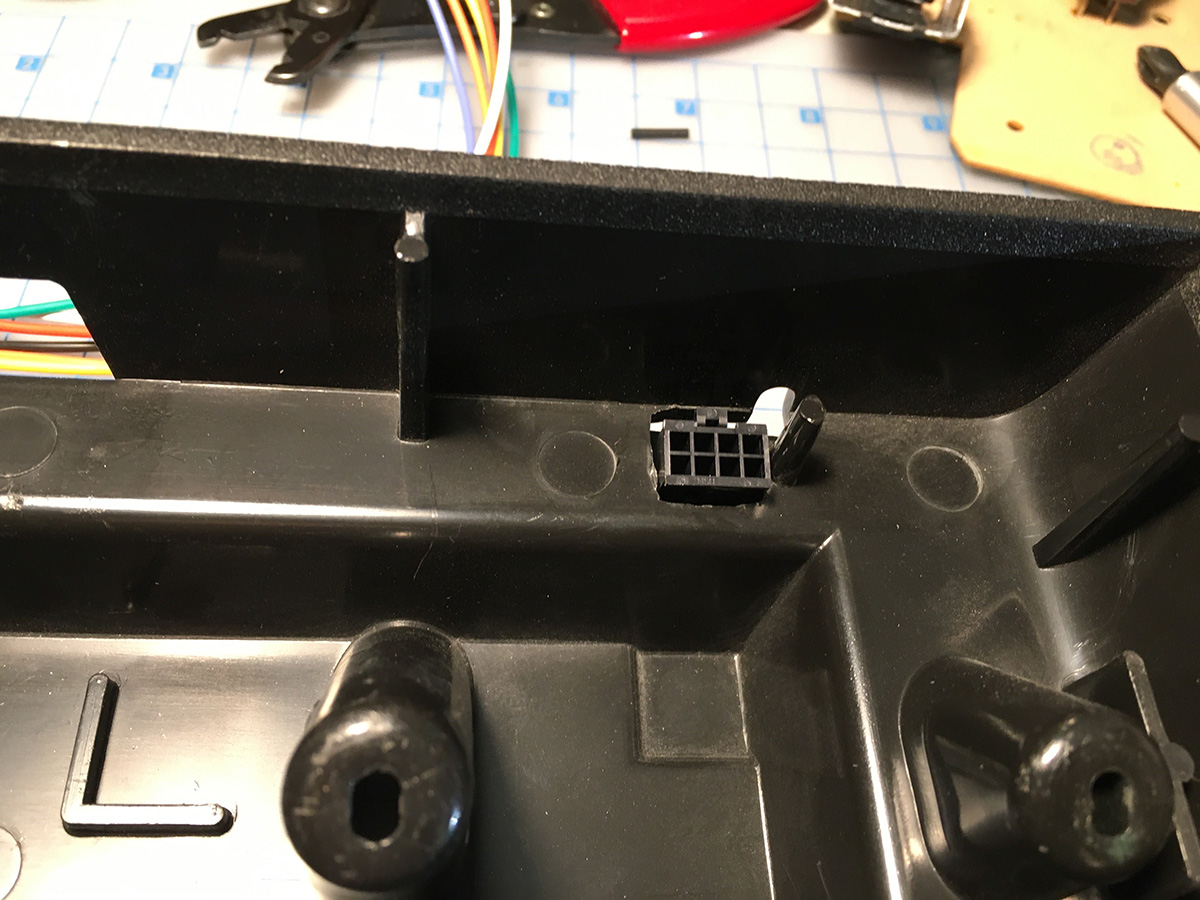
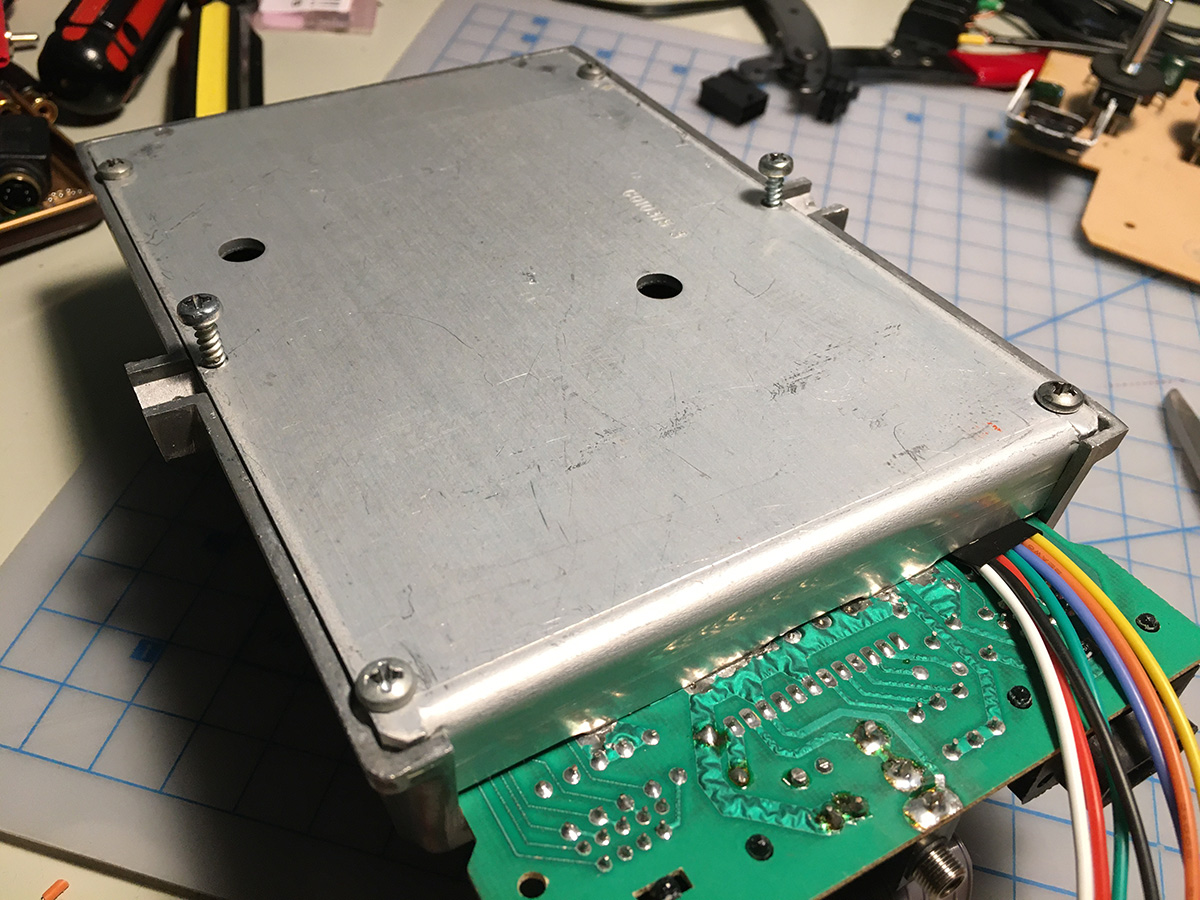
I attached the bottom of the case to the 2600's guts, and the screw seated into the newly repaired hole very solidly and reassuringly!
With that, I only had to plug the Molex connector together to finish the wiring. The Molex connector allows much easier future disassembly of the console. Hopefully, having gone to all of this work, I'll never actually need to use it. ![]()
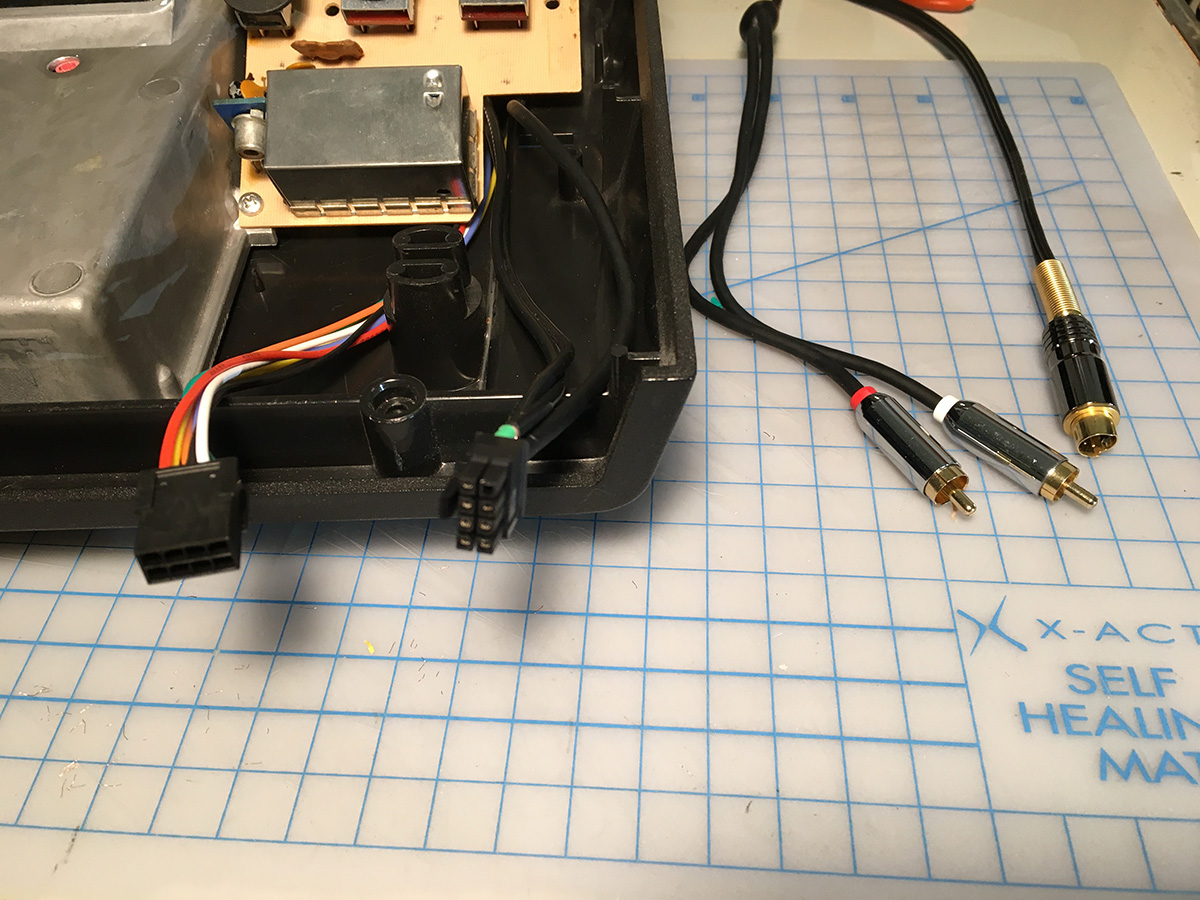
Once connected, I fed the S-Video and audio cables through the wire guides inside the 2600 (where the RF cable had originally been). They fit just snug, without pinching. A perfect fit!
So at this point, I could fully test the rebuilt system. I plugged in Pac-Man and... there was no color! What happened?!?
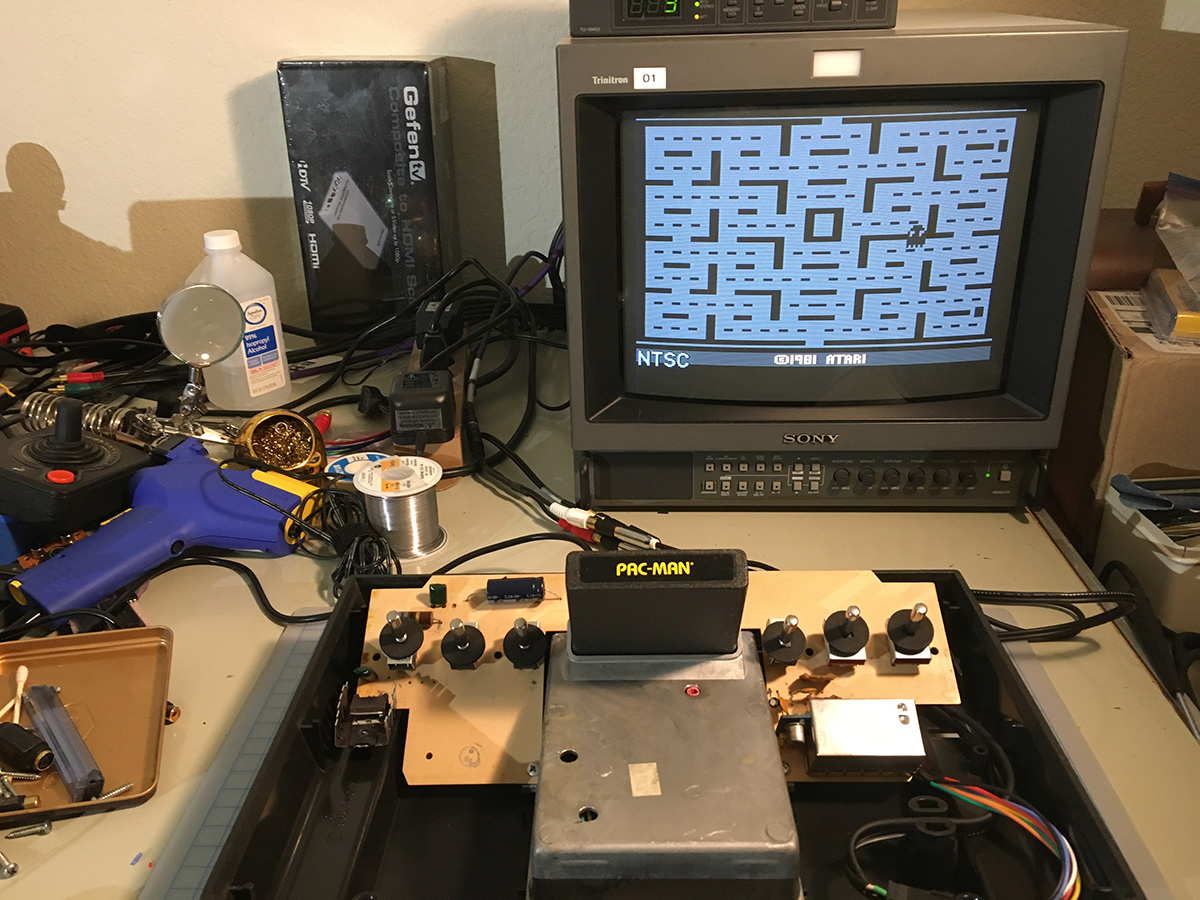
Of course, it took about a second to realize that the TV Type switch was set to Black and White. ![]() Duhr.
Duhr.
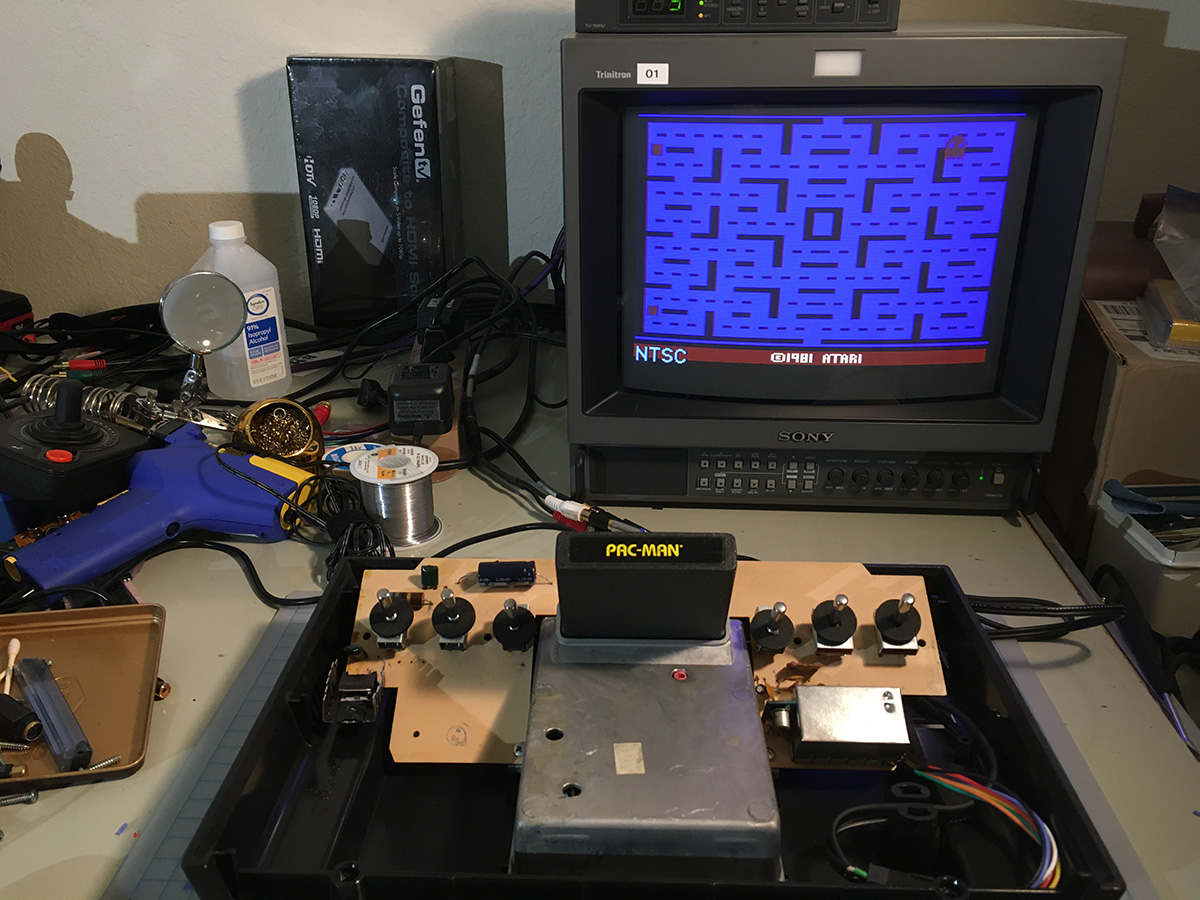
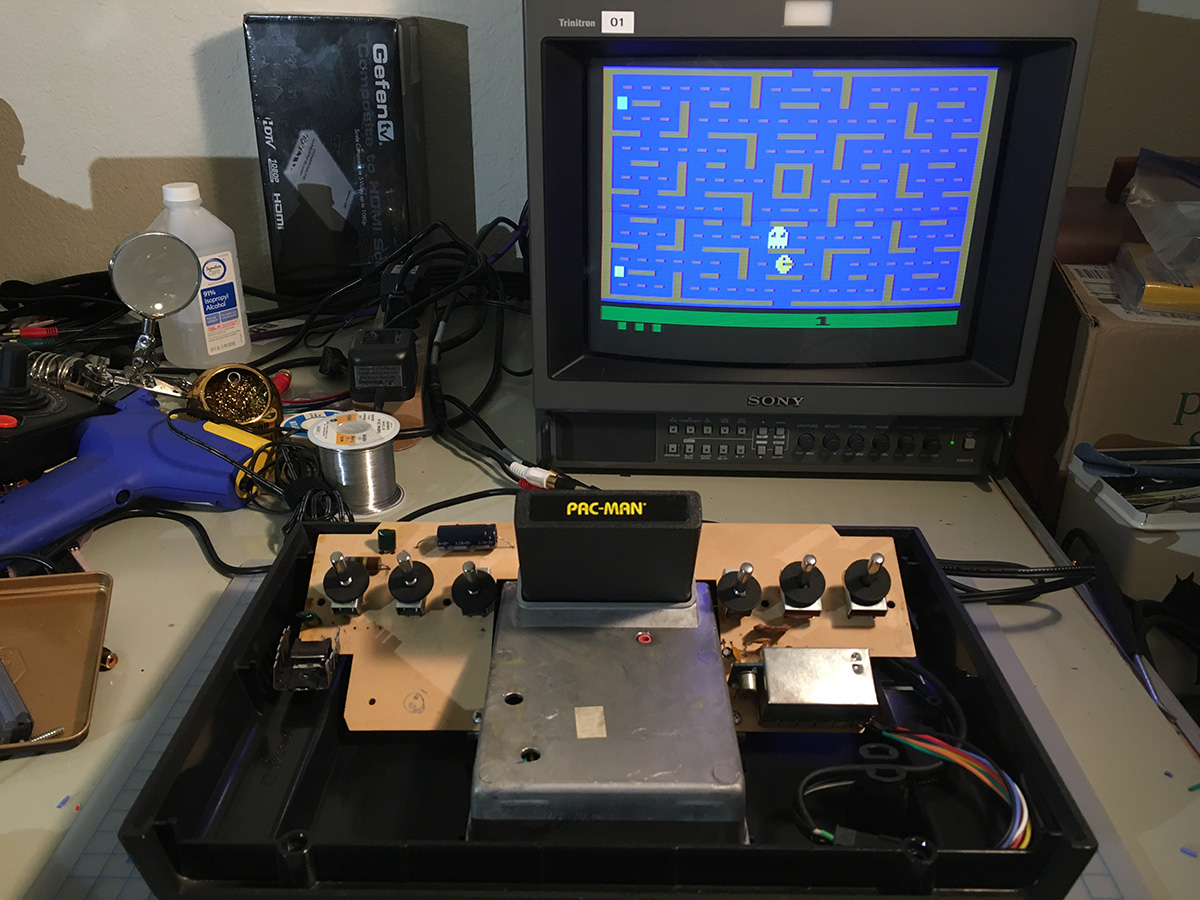
Pac-Man loaded and played fine! Well, as much as it ever did.
Oddly enough, using Pac-Man for my test cartridge has actually given me a little kinder view of it in hindsight. It's not really a bad game. It is a bad port of Pac-Man. But taken on its own, it's not awful. Certainly not like Karate (or as I prefer to call it, "Dancing Diaper Stickmen").
And with that, final assembly and testing! My Harmony cart works. My AtariVox works. My 2600 works without my AtariVox. It is, finally, after all these years, fully sorted.
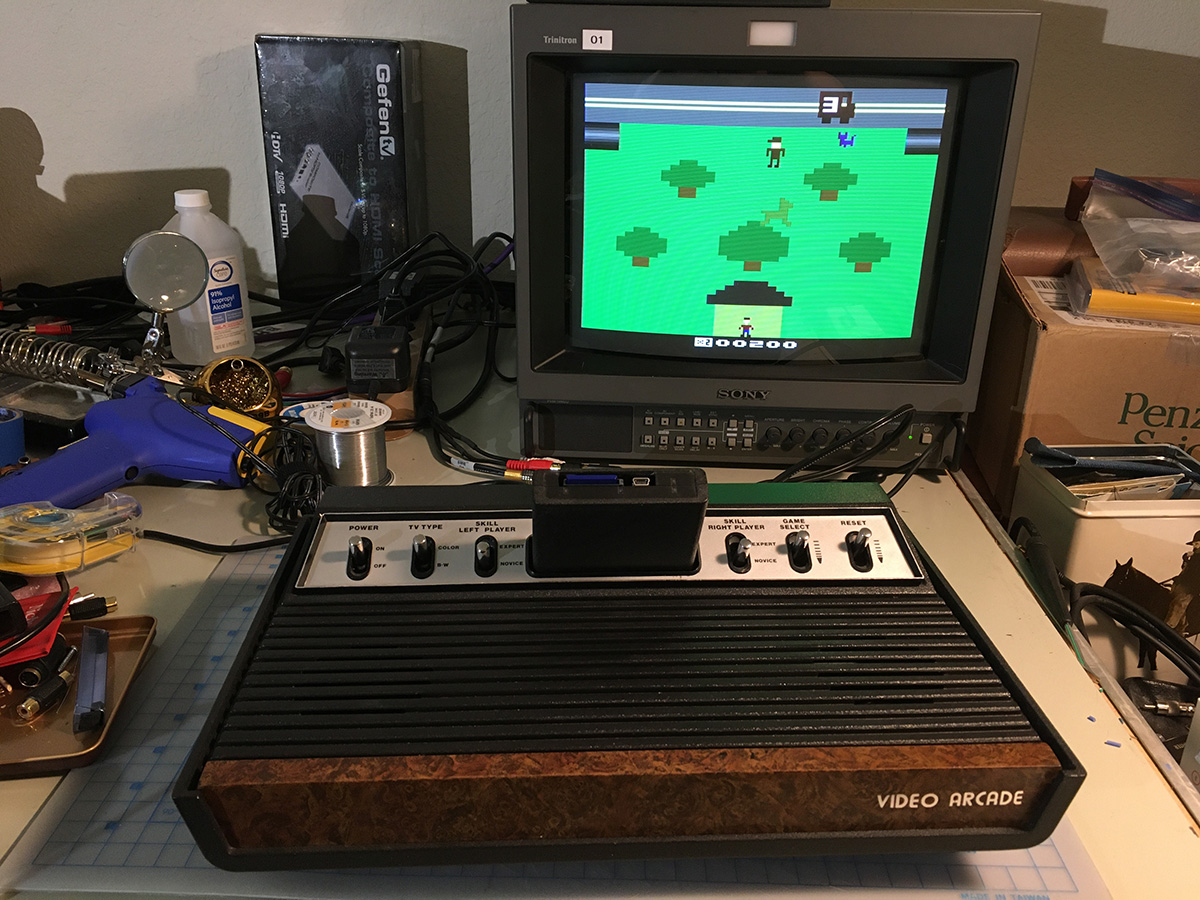
After this, I moved it back into my living room, and hooked it back up to my AV receiver and TV.
It's nice to have that repair done!
But that doesn't mean I'm done repairing...
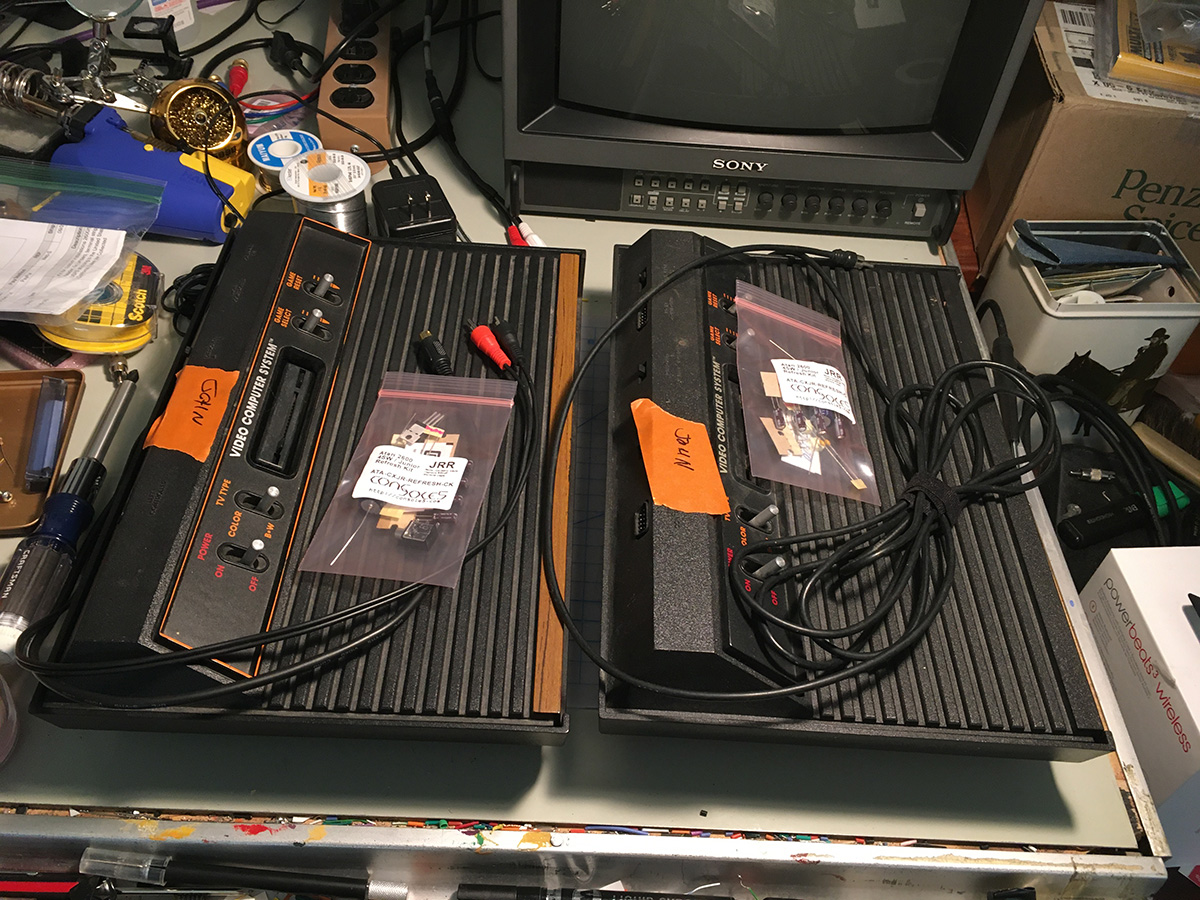

Top image: Two of John Champeau's consoles. One has a stuck joystick direction, the other has a scrambled picture as if no cartridge were plugged in. Both are also getting re-cap kits.
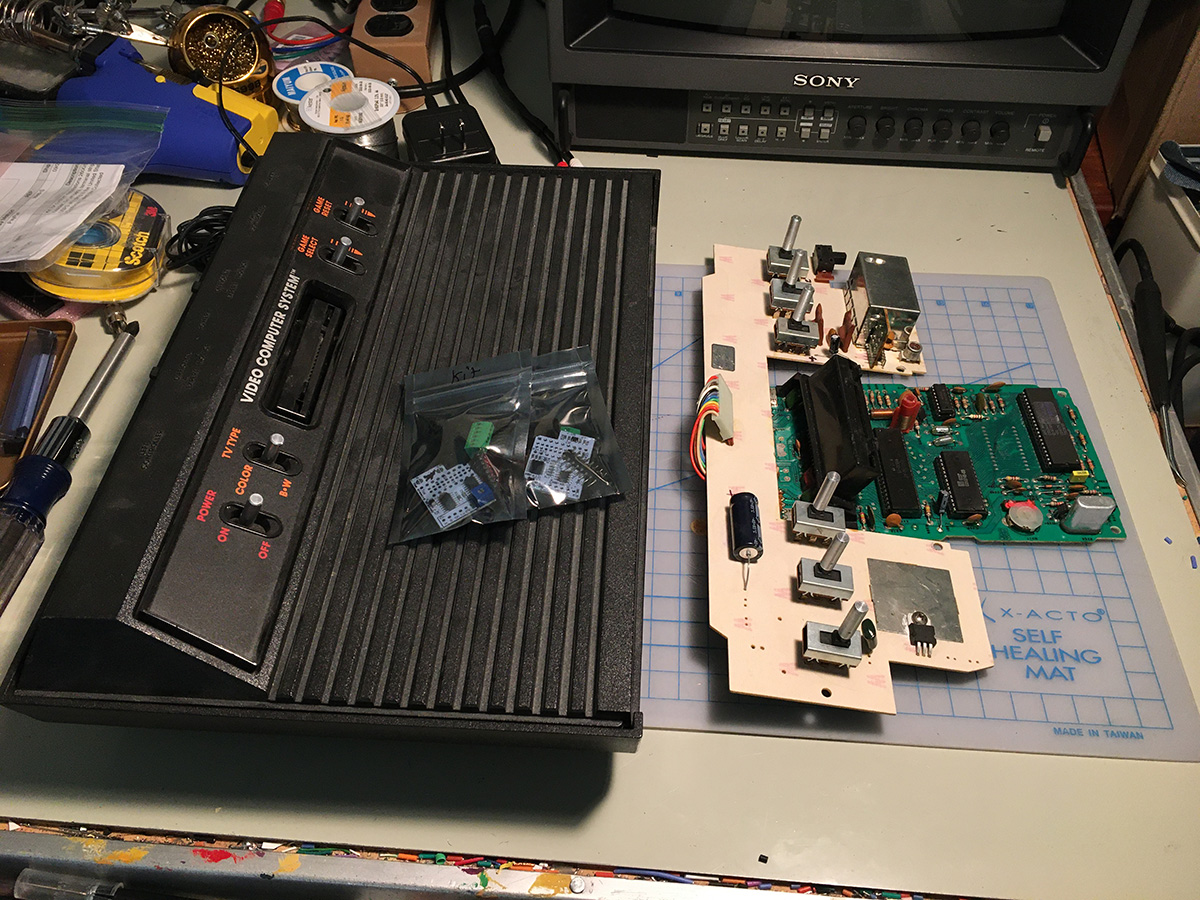
Middle image: My Vader, and my donor boards. Both are getting an Ultimate Atari Video Mod, and the donor is getting a new home!
Bottom image: Two dead consoles, generously donated to me by McCallister. The one on the left is the new home for my donor boards! And the Vader? Well... I'm planning something special for that... ![]()
-
 5
5
-
 2
2


1 Comment
Recommended Comments