

Holders for my 5-in-1 Namco systems

Entry posted by Guest
1,068 views
Not long after CGE2K4 I went to my local Gamestop and bought two of the Namco games I saw at CGE:
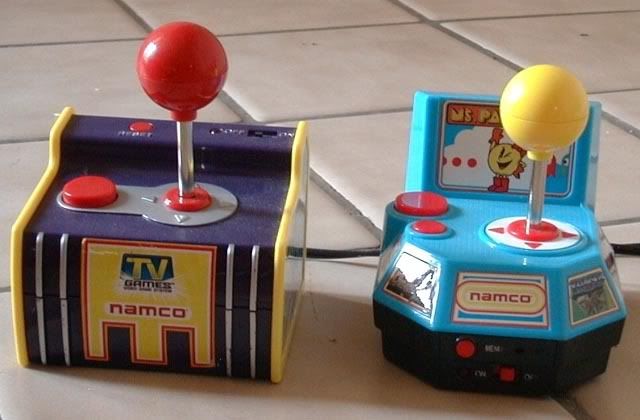
These systems are set up so that you could only hit the trigger button with your thumb while holding the game. It wasn't long before my thumb was very sore and so I tried placing the game on the floor and using my index finger for the trigger. That worked but the game system kept rocking when I used the joystick. My index finger was not as sore as my thumb but the constant rocking distracted me and I got lower scores as a result.
Then inspiration hit me and I came up with the idea of a holder that would keep the system in place and allow me to play without distraction. So I built two holders: one for each system. The holders are each built of two pieces of wood. The top piece has a hole cut in it to allow the system to fit in. The second piece of wood is mounted below the first piece with carriage bolts to keep the system in place.
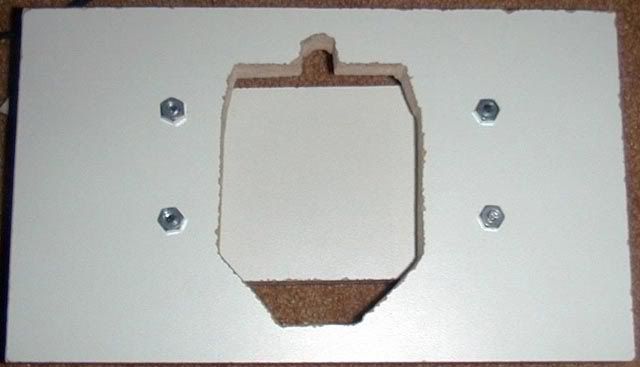
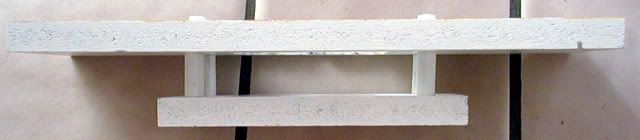
Here's a photo of the first holder soon after I cut and assembled the wood. The wood is laminated particle board I had left over from a another project and it's excellant material for holders.
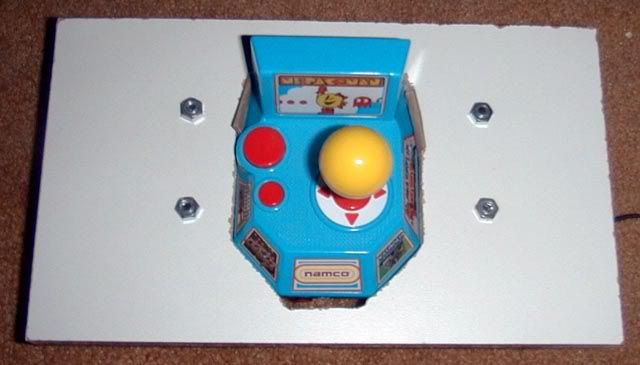
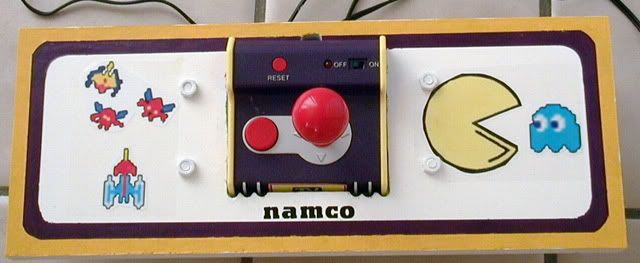
Below is a picture of the holder with the system in place. Cutting the inital hole was easy. The hard part was getting the Namco system to fit in tightly. The original hole was smaller than the system and so I spent some time with a wood file in order to get the system to fit in the hole.
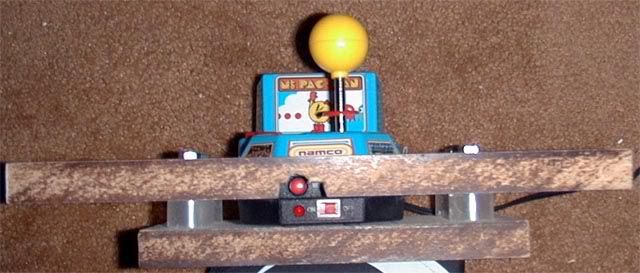
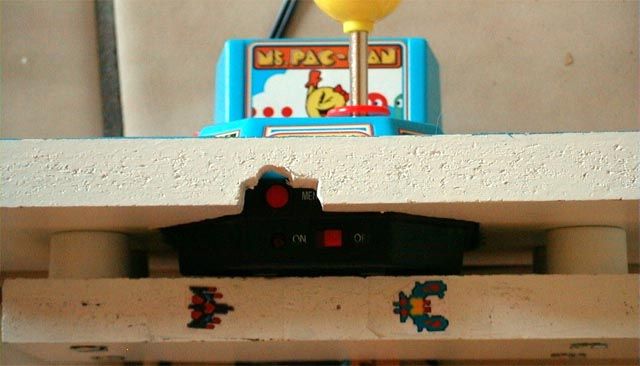
Here's a side shot of the holder. I used the plastic caps from some orange drink bottles as spacers. As you can see I had to use the wood file quite a bit here to make sure I had acces to the reset button.
A plain white holder looked boring and the exposed wood on the side was unattractive. So, I spruced things up a bit with some paint and stickers.
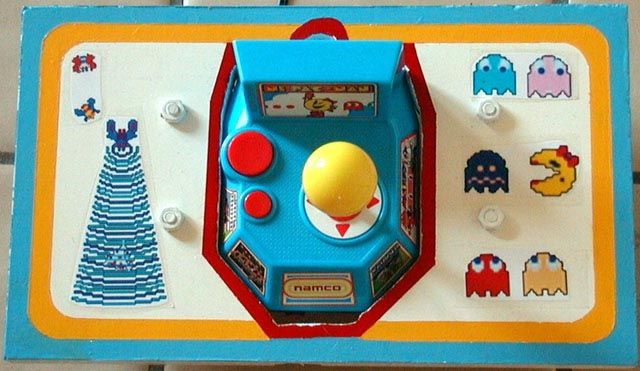
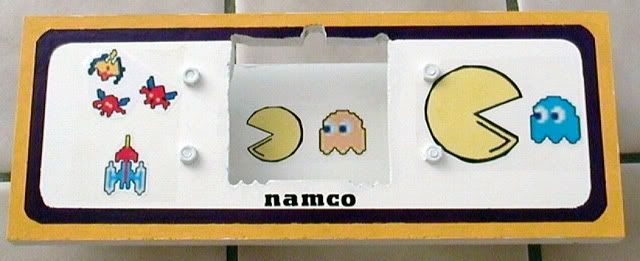
The stickers I printed myself. I captured the images from the MAME version of the games.
I had some stickers left over and so I applied them to the side of the holder.
Here's a shot of the holder without the game in place:
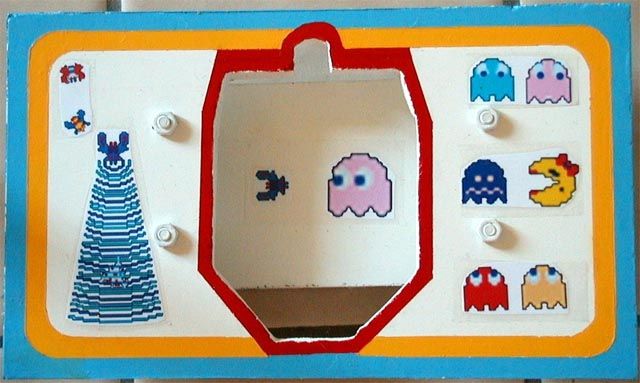
I was able to complete the second holder in much quicker time than the first. The distance between the boards on the second holder was greater than what the bottle caps could provide and so I just used 3/8" plastic pipe for the second holder.
The systems still rock a little bit in the holders but I solved the problem by jamming some folded paper between each system and their holder.
I play with the holder either sitting on the floor or in my lap. Either way it works well for me. The gameplay has improved but I haven't broken any scoring records. The big difference is the reduction in fatigue: I can play much longer now without the pain I endured before building the holders.
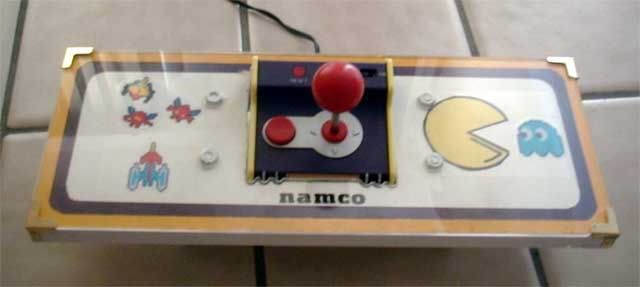
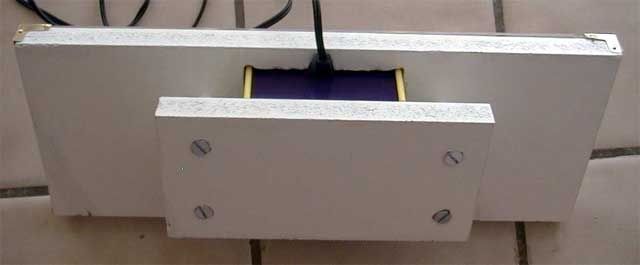
Not long after I built the holders I realized that the paint and detail work on the holders would get dirty and ruined after only a little bit of use. The solution was to cover the holder with some plexiglass. So I went to the local plastic store and ordered some plexiglass cut to my specifications. I completed the modifications some months ago but I finally took some pictures. Here are the results:

The hard part was tracing the pattern of holes to cut out of the plexiglass. I figured it out by placing some cardboard over the holder and cutting the holes out of the cardboard. I then placed the cardboard over the plexiglass and traced the pattern. The smaller holes were cut with a drill press but the bigger hole were cut out with a coping saw. That was the easy part as I had to use a hand file to make the hole in the plastic match the hole in the holder.
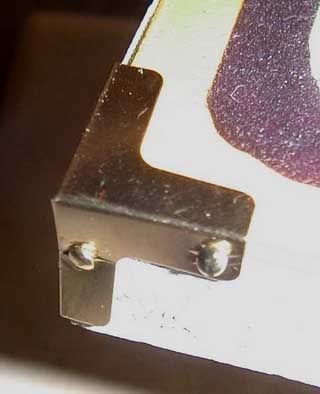
After that I had to figure out how to mount the plastic on the holder. I had a couple ideas but they weren't working out. I then discovered some brass photo mounting corners and discovered that they did the trick nicely:
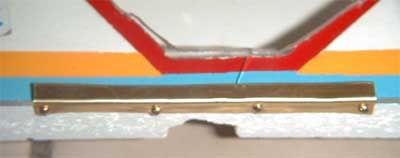
I was a little too agressive with the coping saw on the plexiglass for the Ms Pac-Man holder and I cracked the plastic in several places. I cut up some brass plating and mounted them over the cracks to prevent the cover from slipping:
(Needless to say, I was more careful cutting the hole for the second holder and the results were much better.)
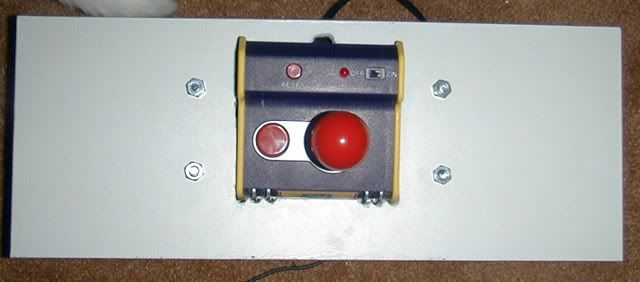
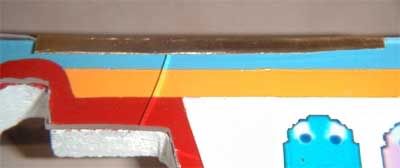
I still have a slight problem with the holders. Take a look at the bottom:
I didn't sand the corners to make them round and so, whenever I play with the holder in my lap, it digs into my skin. I solved the immediate problem by putting a small pillow or pad underneath the holder. If I ever build another holder I will either sand the corners round or mount some cloth on the bottom (or both).
Despite some of the cosmetic flaws I am quite pleased with the new plastic covers. These holders are the first arcade-like construction I've built and I'm quite proud of the results.
1 Comment
Recommended Comments